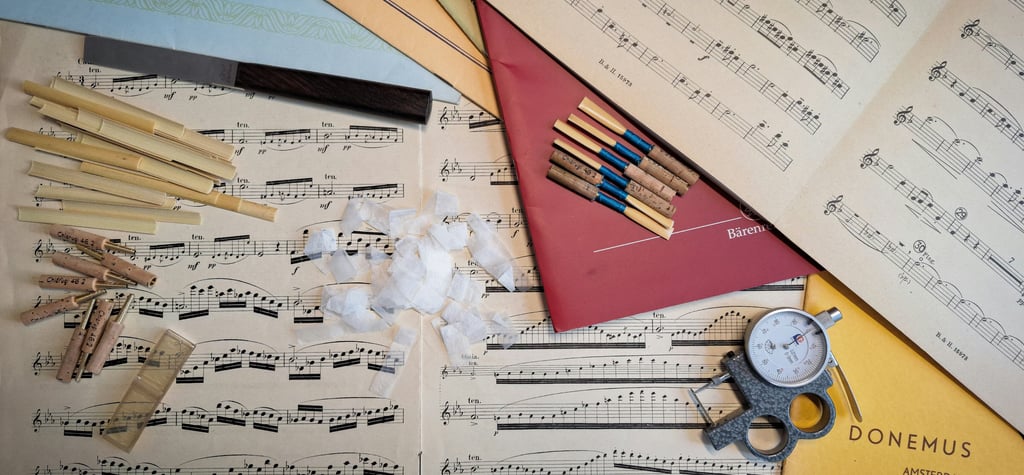
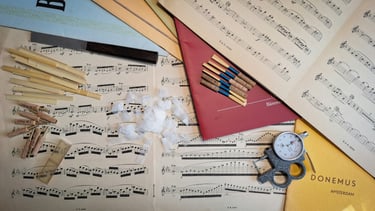
How to Play on a New Oboe Reed
Taming the wild reed.
Lilian Curbelo
4/3/20244 min read
Ah, the eternal quest for the perfect oboe reed—a pursuit that often begins with the desire for instant gratification: a reed that plays like a dream from day one.
But like any good relationship, the bond between player and reed takes time to cultivate. Think of it as "domesticating" your reed. Sure, it might put up a bit of a fight at first, but with a little patience, you'll soon be making sweet music together.
1- Unveiling the Reed's True Colors
You may have noticed that when you play in a rehearsal with a fresh new reed, it is uncomfortable at the beginning and much easier at the end. This discomfort is actually quite normal and hints at something important.
Whether you made your own reed or bought it, here's the deal: it's gonna take a bit of time to cozy up to that new reed. Expect about an hour of quality time together before it really starts to shine. Resist the urge to scrape, because as you keep playing for that first hour, something cool happens—the reed starts to loosen up, finding its groove and getting easier to play.
My advice is to play it in short sessions of about 15 to 20 minutes each day, and not trying to play it for a whole hour in one go. Perhaps use that new reed during your warm-up or your technical routine, and then let it rest until next time. Like that you avoid getting overly tired and it will be less likely that you grab that knife and do some impulsive scrapping on day one.
2- Reed Reality Check: Is It Untamed or Just Hard?
But, how to know if your reed is not domesticated yet, or is actually hard? Here's the lowdown: forget comfort for a minute and focus on the vibration.
If your reed's crow is good (has both high and low tone sounding evenly and simultaneously) and it sounds balanced across all the oboe's registers, chances are it's just not quite broken in yet. Think of it like breaking in a new pair of shoes—give it time, and it'll soon mold to your liking.
However, if your reed feels about as lively as a stone and you're struggling to get any sound out of it, well, you might be dealing with a real tough cookie. In that case, it's time to roll up your sleeves and do some scraping.
So, trust your instincts, listen for that sweet vibration, and don't be afraid to put in the work. After all, a little patience goes a long way in the world of oboe reeds.
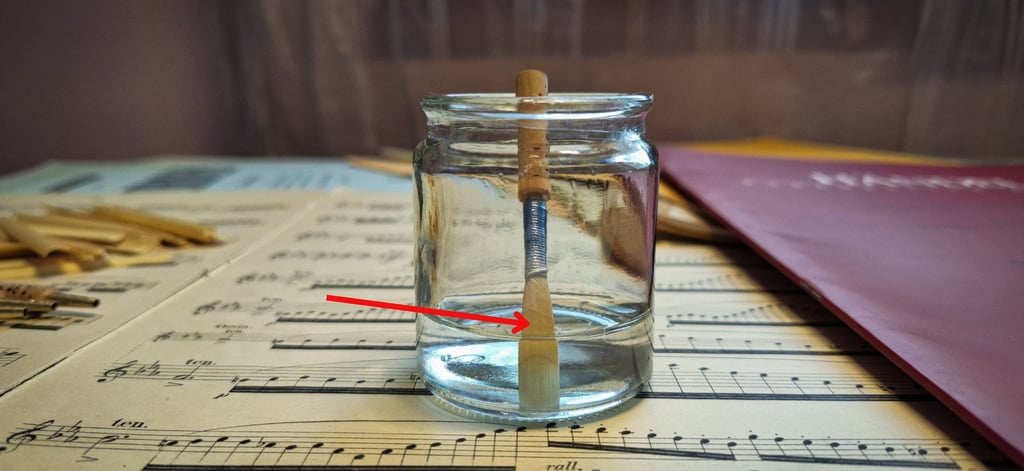
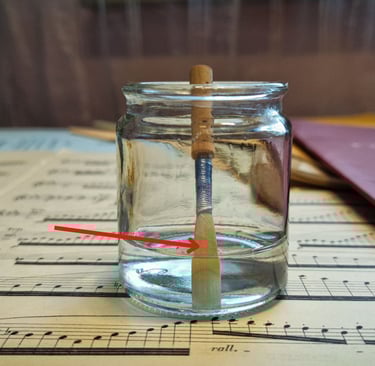
3- Soaking Secrets
Soaking your reed is crucial, but let's not overdo it. Skip the deep dives and focus on precision. Soak only the scraped part for 1.5 to 2 minutes, then let it sit outside the water for a bit. By doing this you prevent the reed from absorbing too much water, as it will only be exposed to the humidity that remains on it after taking it out of the water pot.
Why the fuss? Oversoaking spells trouble—your reed ends up feeling like a brick and might even crack. No thanks! Keep it shallow, keep it precise, and you'll avoid soggy surprises.
4- Keeping Your Reed Alive: The Importance of Proper Drying
Alright, reed enthusiasts, we've mastered the soaking game, but now it's time to talk drying. After a practice session, it's crucial to let your reed dry completely. Proper drying preserves its quality and lifespan.
Now, pay attention to this next bit—it's crucial. When it comes to sealing your reed, skip the plastic and opt for fish skin.
Using plastic as a sealing material only feeds into the oversoaking problem. Before you know it, your reeds are as hard as a rock, and that magic first hour of play? Yeah, forget about it.
So, do yourself—and your reeds—a favor: invest in some quality fish skin. Your reeds will thank you for it, and trust me, you'll notice the difference.
Quick tip if your fish skin rolls down: soak only the scraped part of the reed and never the part with fish skin. See image above.
Summary
Alright, let's wrap it up with the essential steps to get the most out of your new reed:
Break-in Period: Before making any adjustments, give your new reed a chance to shine by playing it for at least an hour. During this time, incorporate it into your technique routine to get a feel for its capabilities.
Scrape Wisely: Less is more when it comes to scraping your reed. If you find yourself spending more than 10 minutes trying to fix it, you're probably overdoing it.
Proper Drying: After each practice session, allow your reed to dry completely to preserve its quality and lifespan.
Sealing with Fish Skin: Opt for fish skin as a sealing material to avoid the oversoaking problem. Roll it tightly and wet, then secure it at the bottom with plastic thread to prevent rolling.
And remember, if you need further assistance or want to buy a reed, feel free to reach out to me! You can book a reed lesson in person or online, or simply drop me a message for personalized advice. You can message me using the Contact Form.
Have a great reed!
Website design and photography by Lilian Curbelo | All rights reserved ©2026